Posted by William Maxwell on 2022 Jan 6th
Building a Custom Bergara B14 for Competition
In my last article, we ended on the Bergara B14 HMR being a solid rifle. Adding the MDT XRS was not only aesthetic; it was functional. But we were lacking two things: extreme precision and balance. To make a rifle competition ready, I'd argue that those are two essential traits. So what needed to be done to bring this rifle to the next level? Let us talk about it.
GUNSMITHING
I recently purchased a lathe; it was time to put it to work. (We can't get too deep into the weeds about the whole process as that would take an entire article in itself.) I took notes while watching my last three rifles built by Bill Marr (Rifleshooter.com and 782 Custom Gunworks), reading a ton, and watching all the Youtube videos I could find regarding precision rifle building. I was ready to put my perceived gunsmithing knowledge to the test.
I pulled the factory barrel, took all the measurements, drew up a print to work off of, and went to town.
Gunsmithing Note: Bergara barrels have a 25° feed cone, unlike the Rem 700 bolt recess.
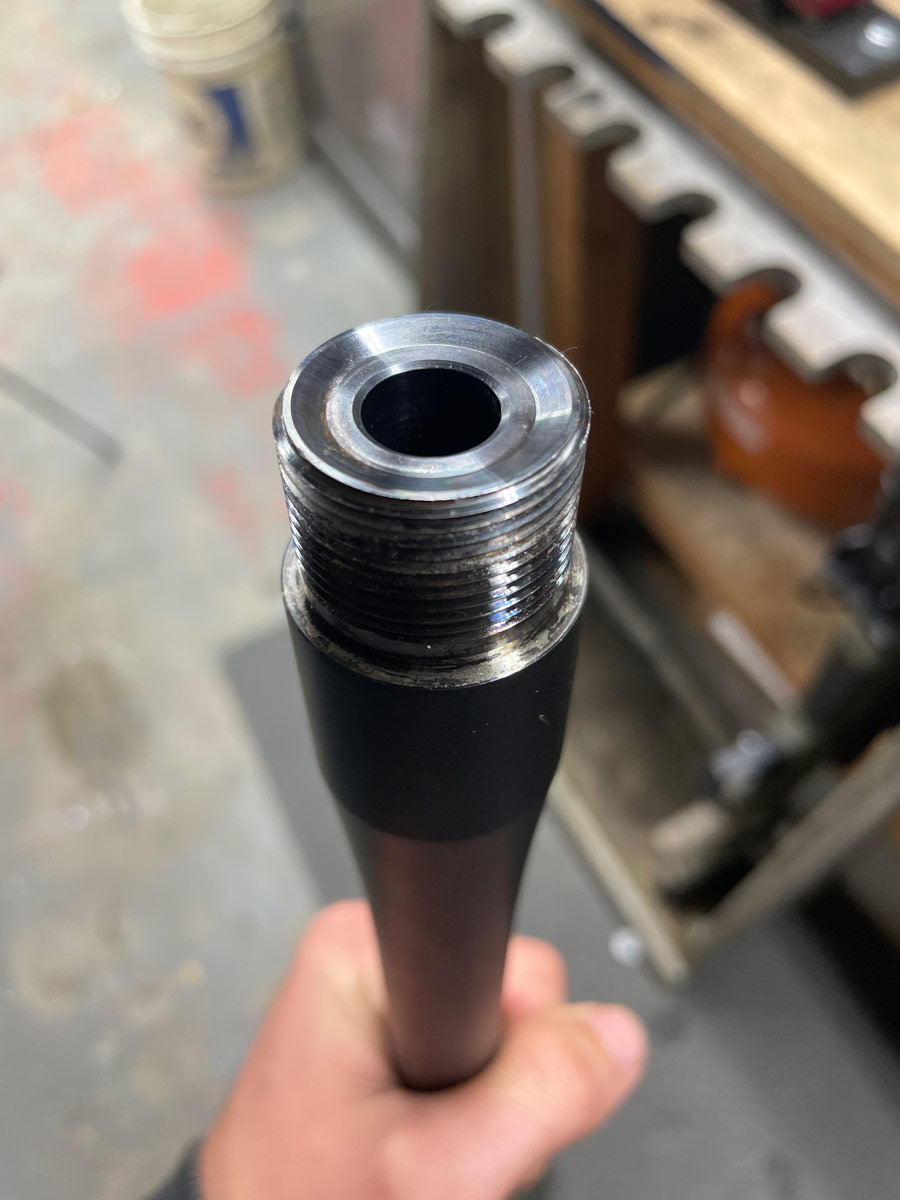
The barrel I chose was a Bartlein 27" M40/M24 Profile .264/6.5mm with a 1:7.5" twist. The finished length was 25" chambered in 6.5 Creedmoor. I would have usually cut it to 24" but a wise man once told me, "you can always cut it down, but you can't make it longer." Read my previous article if you'd like to learn more about why I chose this cartridge.
Believe it or not, other than a few minor hiccups, the machine work went flawlessly. Unfortunately, my lathe doesn't have a Digital Read-Out, so there were a ton of small plunges and measuring going on. I suppose that's an excellent way to learn the craft, but it is time-consuming.
Once the barrel work was done, I torqued it to the action, checked headspace, and all was good – a huge relief. I quickly polished the barrel with some 400 grit sandpaper and cutting oil, wiped it down, and could not resist painting it. I decided to spray it with Brownells aluma-hyde in a desert tan/FDE color, which paired up nicely with the FDE XRS.
The next step was to slap the rifle back together and take it to the range to make sure it would not blow up.
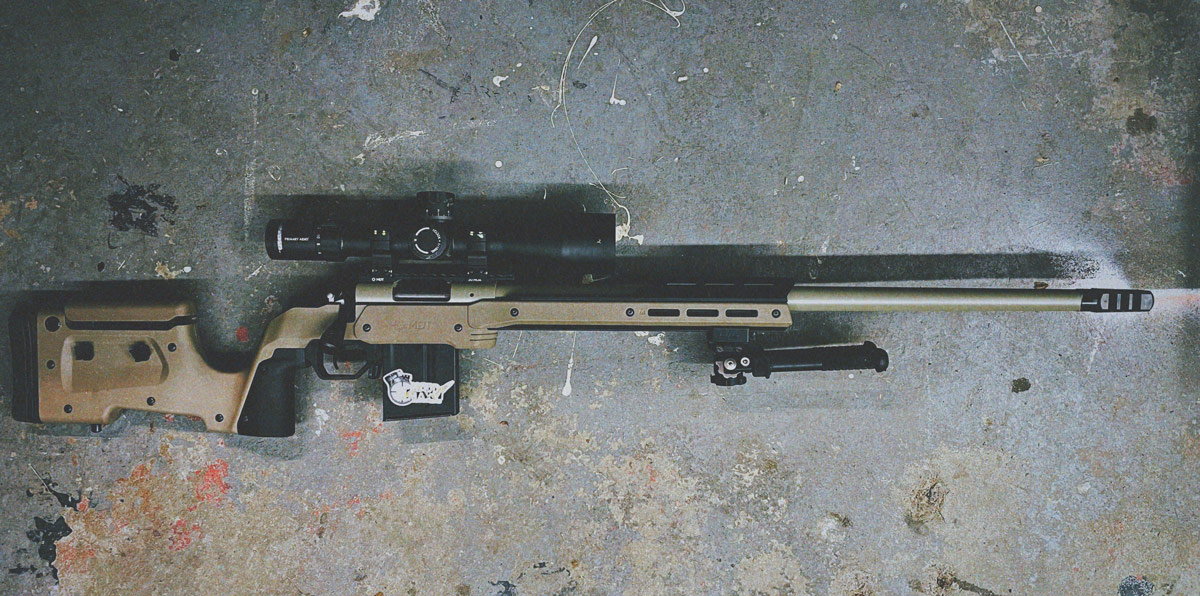
But before we go there, let's discuss the build list:
- Action - Bergara B14 HMR
- Trigger – Geissele Super 700
- Barrel – 25" Bartlein M40 Profile 1:7.5" 6.5 Creedmoor
- Chassis – MDT XRS with enclosed ARCA forend
- Brake – MDT Elite Brake
- Scope – Primary Arms PLx 6-30x mil-dot
- Mount and rings – MDT
- Bipod - Atlas
RANGE TEST
I set the rifle up on the bench using a bipod and a rear bag. The first shot was somewhat nerve-racking. I made sure it was aimed at a steel target 85 yards away while resting on the bag (there is no significance to that distance, that's just how far it happens to be at my range), turned my head to protect my face, and pulled the trigger.
PEW... PING! It did not blow up in my face (figuratively and literally), but the zero wasn't too far off.
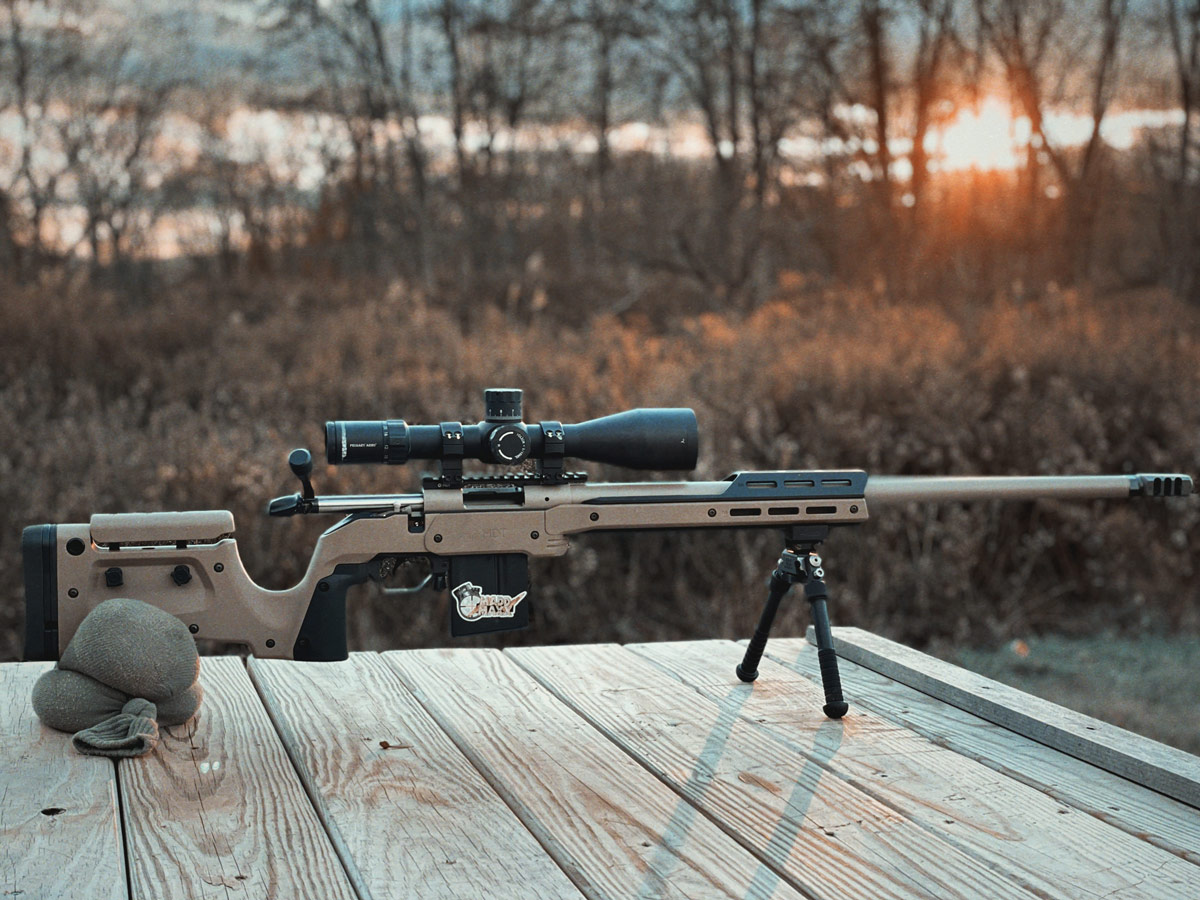
Next, I put it on paper at 100 yards and quickly cleaned the barrel before continuing. Barrel break-in seems to be one of the most debated topics in the community. I decided not to stress this go around; clean it once after zeroing and then shoot the gun.
Disclaimer: This article is for informational purposes only; all load data is for my rifle specifically. Before loading your ammo, reference published load data from bullet and powder manufacturers.
I started with some factory ammo from Hornady and Winchester. They shot okay; the Winchester showed some promise but had a wide flyer (1.054", 0.512" without flyer). I had some hand loads leftover from the factory barrel, 140 grain Berger Hybrid x 41.5 grain of H4350. They also showed some promise but had a single flyer (0.977", 0.499" without flyer).
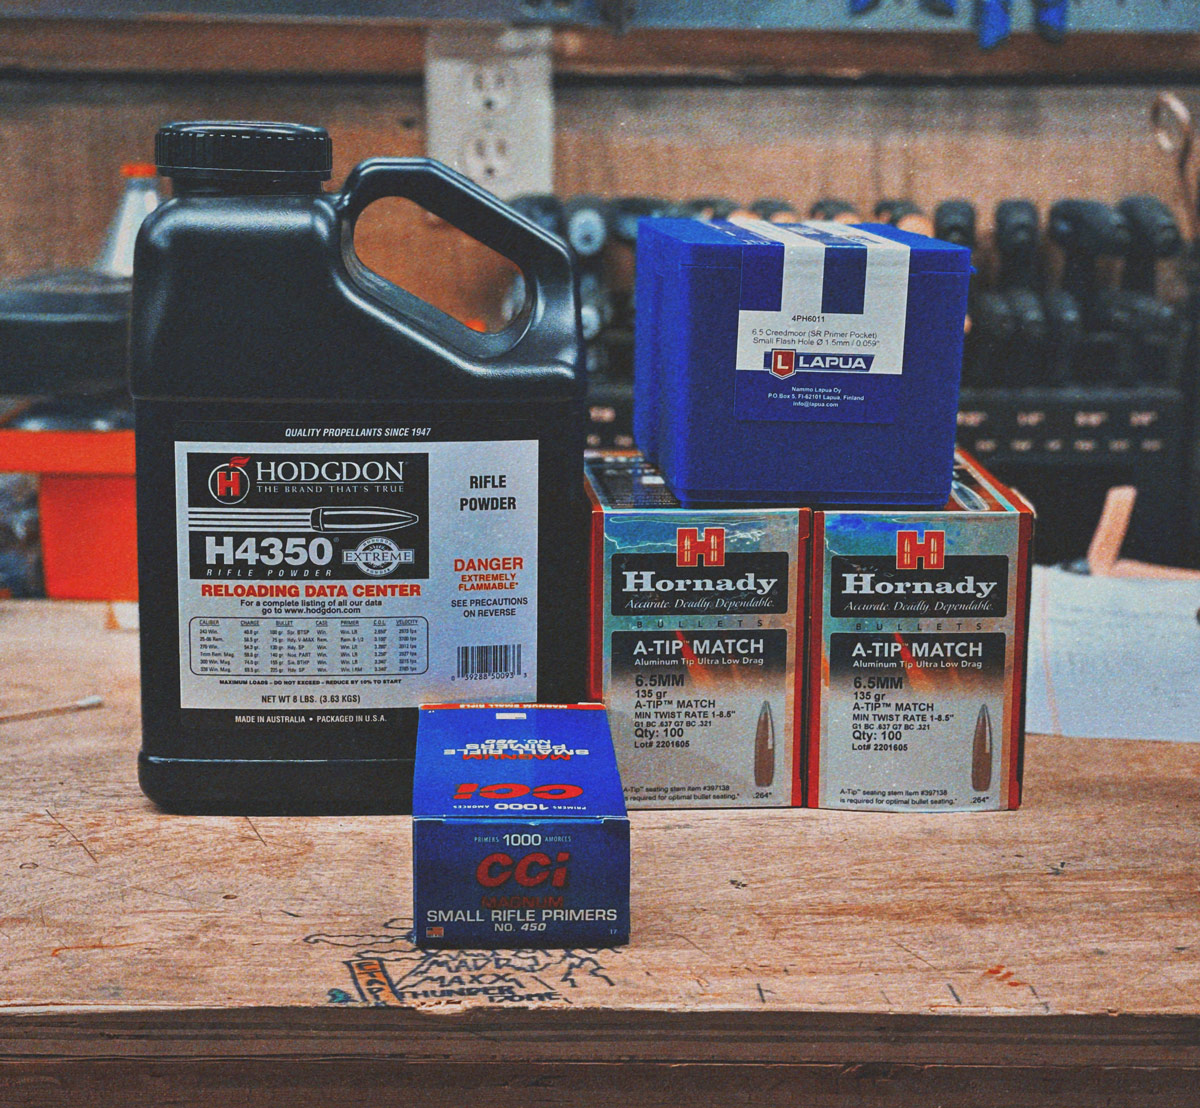
The next group I was especially looking forward to was five rounds of 150-grain Sierra Match-Kings with a safe load of 41.5 grains of H4350. Before this, I have never been able to get a rifle to stabilize this projectile, but I have never shot a 1:7.5" twist tube. Typically, the 6.5 Creedmoor has a 1:8" twist barrel. The result? 0.668" 5 shot group with four rounds going under 0.300". Somewhat naively, I didn't have the chronograph set up for this.
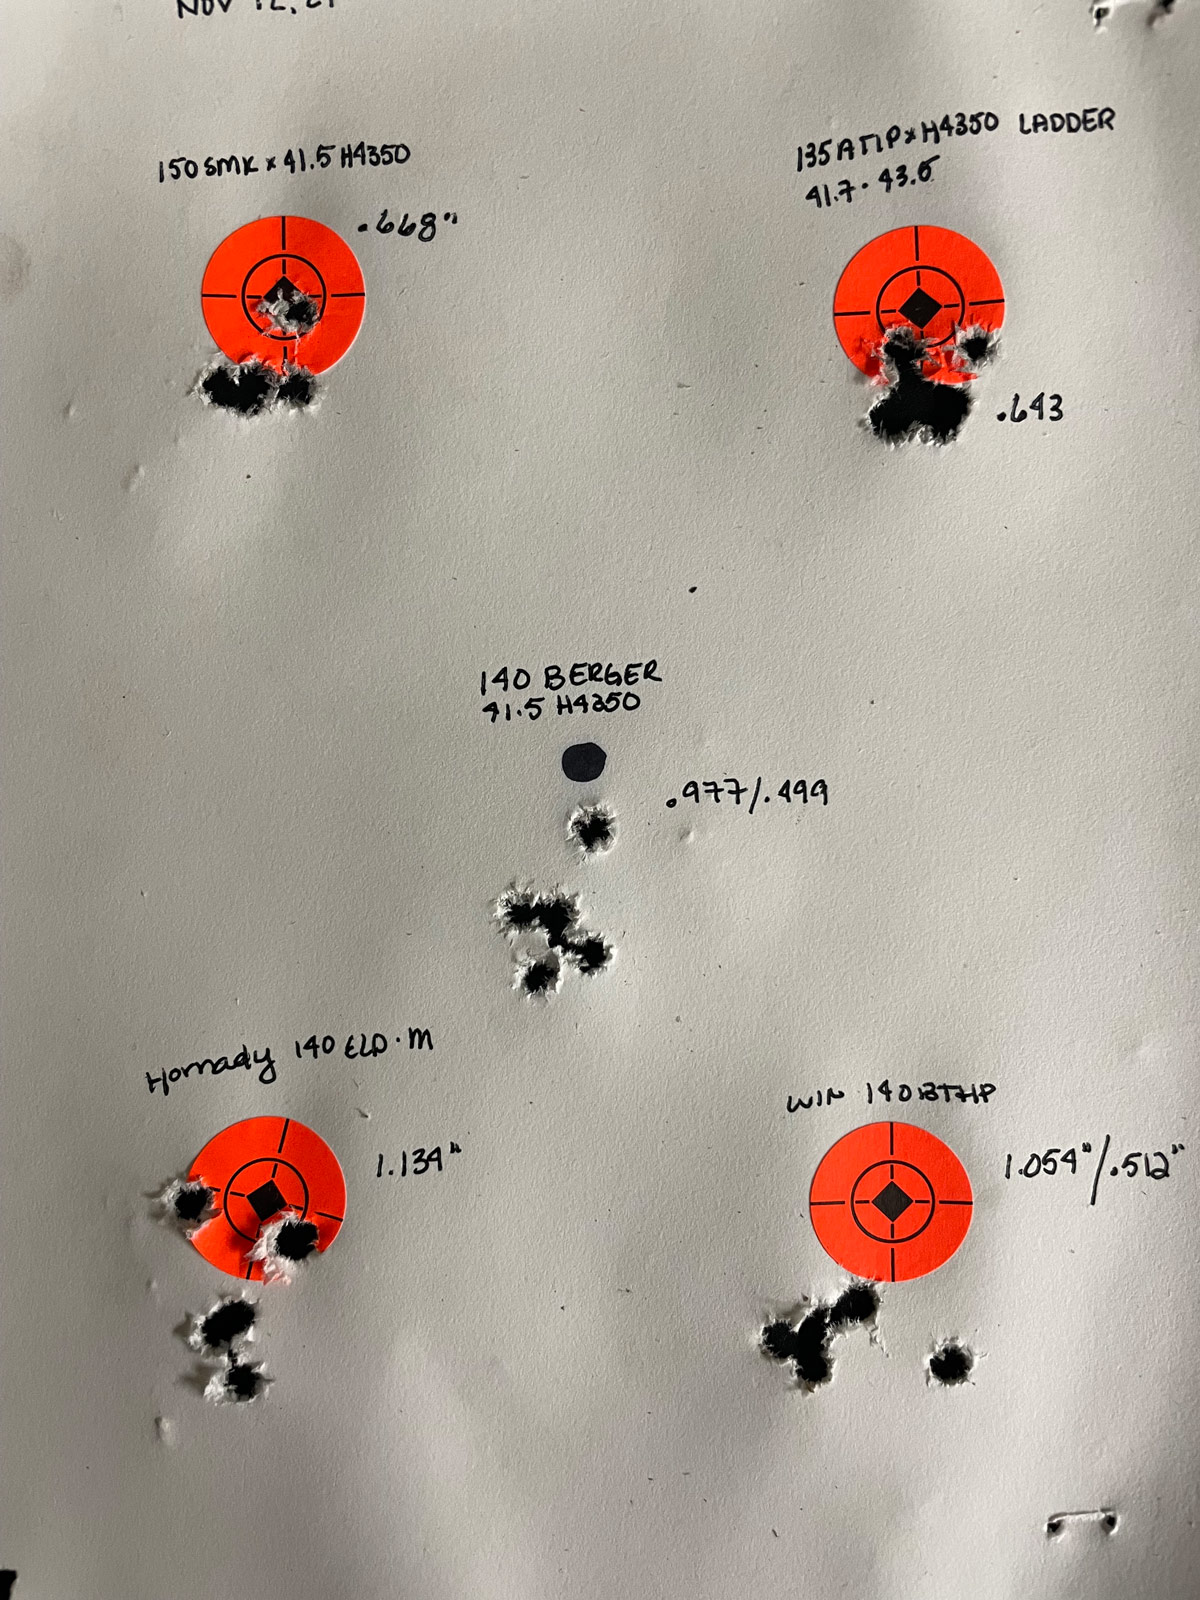
Perhaps what was most impressive for this range trip was the velocity ladder I shot with 135 grain Hornady A-Tips and H4350. I fired ten rounds loaded from 41.7 gr. to 43.5 gr in 0.2 gr increments. This is commonly known as the Satterlee method or 10 round velocity latter. All ten rounds went into a 0.643" hole.
LOAD DEVELOPMENT
Nothing exciting happened during this process. The 150 SMKs decided to shoot without experimenting. With 41.3 gr of H4350, they're flying at 2685 FPS with an SD of 8. There was a fat velocity node around 42.6 gr of H4350 with the 135 gr A-Tips, and it shoots lights out, consistently in the ½" range. The last time I clocked this load, we had a velocity of 2822 FPS and an SD of 5.
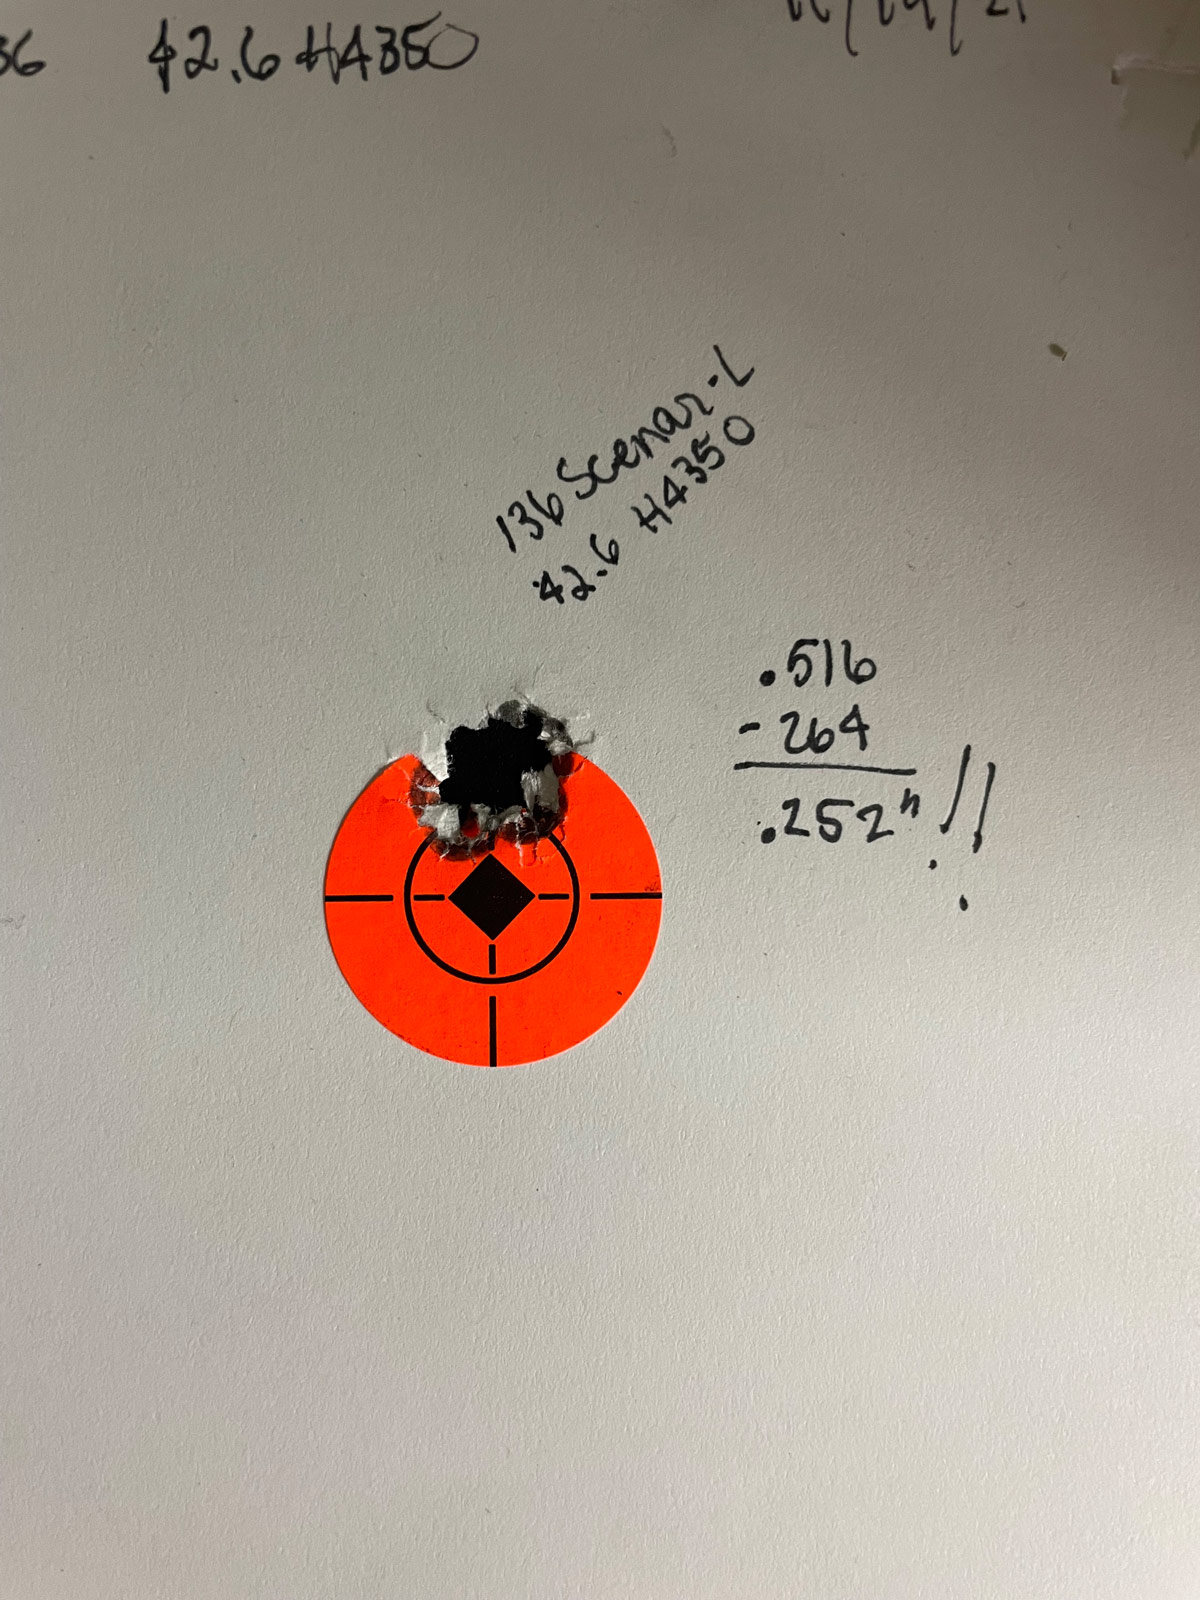
The real dark horse in all of this is the 136 gr Lapua Scenar-L. The 135 gr A-Tips are very expensive, so I decided to try out the Scenar-L because I had a case of them floating around. I loaded them up with the same charge as the A-Tip with no development and shot a 0.252" group. Velocity was 2850 FPS, and I had an SD of 4. It's like I won the lottery.
SHOOTING OUT TO DISTANCE
Since I had loads worked up, I decided to take the rifle to the farm I shoot at to do some tripod work. This would act as the final exam for the rifle to see if it was competition-ready. I should note that it weighed in at 15 lb., even unloaded with no bipod.
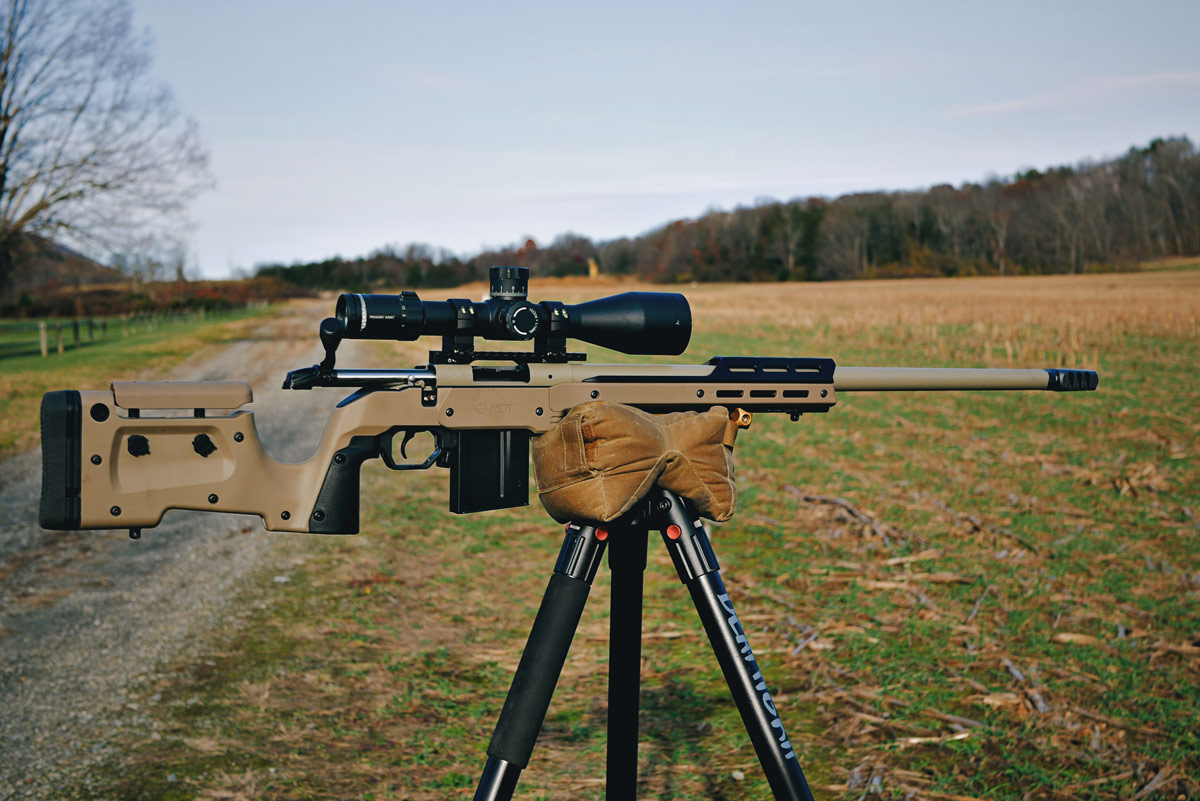
Targets were out at 100 yards, 250 yards, 460 yards, and 660 yards. I was using a Bog Death Grip bipod with the saddle pulled off. And for a bag, I used the Area 419 Rail Changer that attaches via Arca rail. All shooting was done from the standing position. The gun was an absolute hammer and almost perfectly balanced.
IS IT COMPETITION READY?
I'd say so. Would a little extra length out front hurt? No, but it's not necessary. I was hammering targets resting on a tripod, which is definitely my worst shooting position.
This project went along a lot faster than anticipated. I originally planned on putting at least 1000 rounds through the factory barrel, but I have been known to be very impatient. It made it to 353 rounds. And in hindsight, I regret nothing.
More: How I got into Precision Rifle Competition Part 1 and Part 2
We now have what feels like a custom precision rifle that shoots the lights out. And the best part of all: I built it in my basement. This rifle will forever have a place in my heart, and it's like my firstborn. The worst part is waiting until the spring to put it through its paces and compete.
Thanks for reading.
ABOUT THE AUTHOR
William Maxwell currently serves in the United States Army. After returning from his first deployment in 2015, he started building firearms and focused heavily on pistol and carbine training. In 2018 he fell into the rabbit hole of precision rifle shooting. He spends his free time competing, reloading, editing digital content, and writing. He can be reached via Instagram @maddmaxxguns.

 EUR
EUR
 Canadian Dollars
