Posted by Adam Scepaniak on 2021 Sep 16th
HOW TO TEST YOUR NEW RIFLESCOPE
Purchasing a new riflescope can be as exciting as buying a firearm. Hours are spent reading reviews, articles, and watching videos to ensure your optic selection is good quality and ideal for your needs. Unfortunately, riflescopes are mechanical devices, and regardless of price point or reputation, they can fail. After mounting your riflescope, it's not a bad idea to conduct a few tests to make sure that it will function correctly. If you find that your scope has major issues after these tests, contact the manufacturer and get a replacement.
TRACKING
One of the most vital tests you can perform on an optic is to verify it "tracks" correctly. This means that if you make an adjustment or give input to your scope – either windage and or elevation – by clicking a fixed amount on your turrets, the reticle should move according to the amount of distance you dialed into the optic.
To test tracking, start by shooting a qualifying group in a position that you are most stable. This can be a 3-shot, 5-shot, or 10-shot group, with the goal being to establish a baseline of the rifle and shooter accuracy. Then, you will want to adjust the scope to an arbitrary amount in windage and elevation values. For simplicity, let's say you adjusted 1 Mil (milliradian - MRAD) up in elevation and 1 Mil to the right in windage. Then, you will shoot another group of equal rounds to the first you fired. Assuming the rifle was properly sighted-in, and you are an adequate shooter, your new grouping should be 3.6" higher and 3.6" to the right (1 Mil is equivalent to 3.6" at a distance of 100 yards). If this occurs, that's fantastic! Everything is working out thus far.
Next, you will want to "return to home" or where you originally started shooting. So, you can give your glass an input of 1 Mil of elevation downward and 1 Mil of windage to the left. All of the input you have now given your scope should have brought you back to where you started and have drawn an imaginary box on your target. This is one example of a tracking "box test." You will then shoot a final group equivalent in rounds to the previous two, and it should hopefully group exactly where you started.
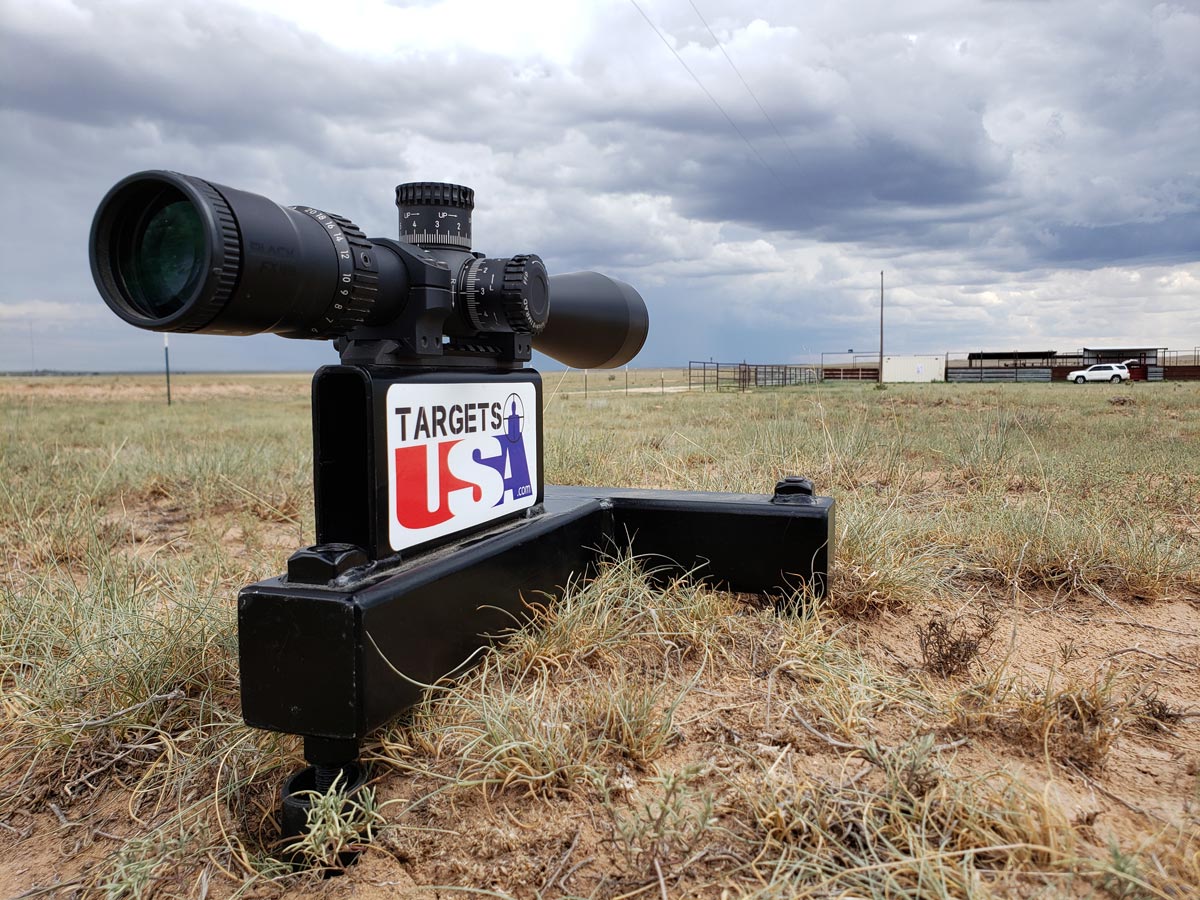
Box tests can be expensive and don't entirely remove potential shooter errors. The best and most efficient way to test tracking is to use a fixture like the Scope Tool from Targets USA. The Scope Tool is a Picatinny/MIL-STD 1913 rail attached to a weighted base. If you are "handy," you can easily make something analogous to this device.

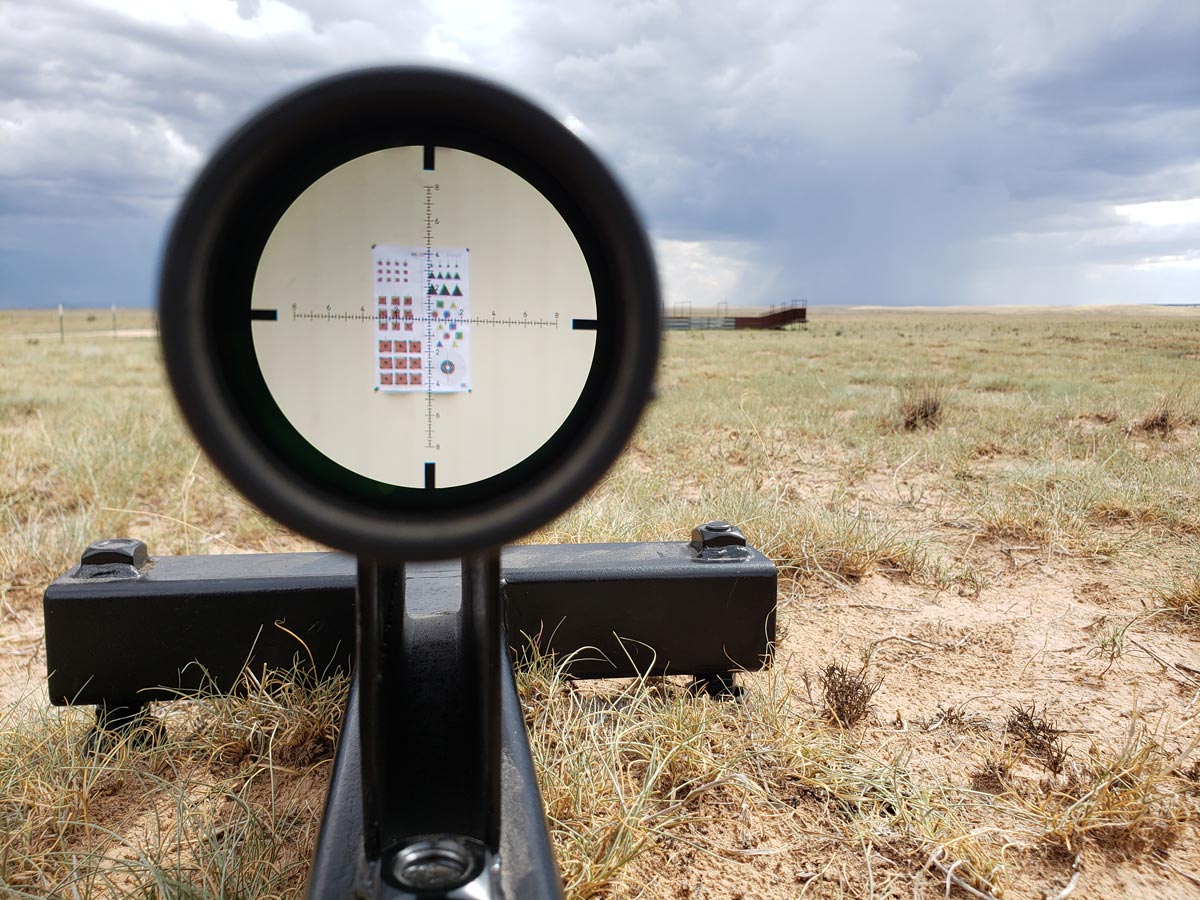
To use a device like a Scope Tool, attach your scope to the fixture and set up a target or a piece of paper 100 meters (or 100 yards if you are using MOA) away that has dots or marks every MIL or 10 MOA. After aligning the scope over the target, dial your turrets and check tracking. A scope testing fixture is a good investment if you have many weapon systems to service or a fleet of rifles to maintain.

Tip: If you find yourself in the field and your scope is not tracking. Re-zero your rifle and plan on using your reticle for all of your distance shooting. Incorporate dialing and holds into your training.
PARALLAX
The next test is to verify parallax. Parallax is an often misunderstood concept, with shooters believing that parallax relates to image clarity when in reality, parallax is putting your reticle and your target on the same focal plane. When parallax is achieved, yes, your image will look clearer, but once again, that is an overly simplistic explanation for what is occurring. Parallax is essential because your reticle may not be where you think it is on your intended target if it is not set. Most parallax turrets will have yardage markers to indicate at what point of revolution on the turret parallax should be calibrated.
To test your parallax find a distance that matches the calibrated distance on your parallax turret. Make sure the image is crystal clear through your reticle, then without moving the stock, slightly move your head. Your reticle should stay in place and not move. If the reticle is moving, adjust the parallax slightly till the reticle becomes stationary. Range targets out to infinity, checking each parallax calibration on your scope.
RETICLE SUBTENSIONS
Once you have tested tracking and parallax, it's not a bad idea to check your rifle subtensions, especially if you have a second focal plane scope. If you have a simple crosshair reticle, this test is not necessary. Subtensions are the distance between your reticle hash marks or dots representing a measurement at a specific distance. For example, at 100 meters, the distance between two mil dots or mil hash marks would be one mil or 10 centimeters. When you buy a new scope, doing a quick check is not a bad idea.

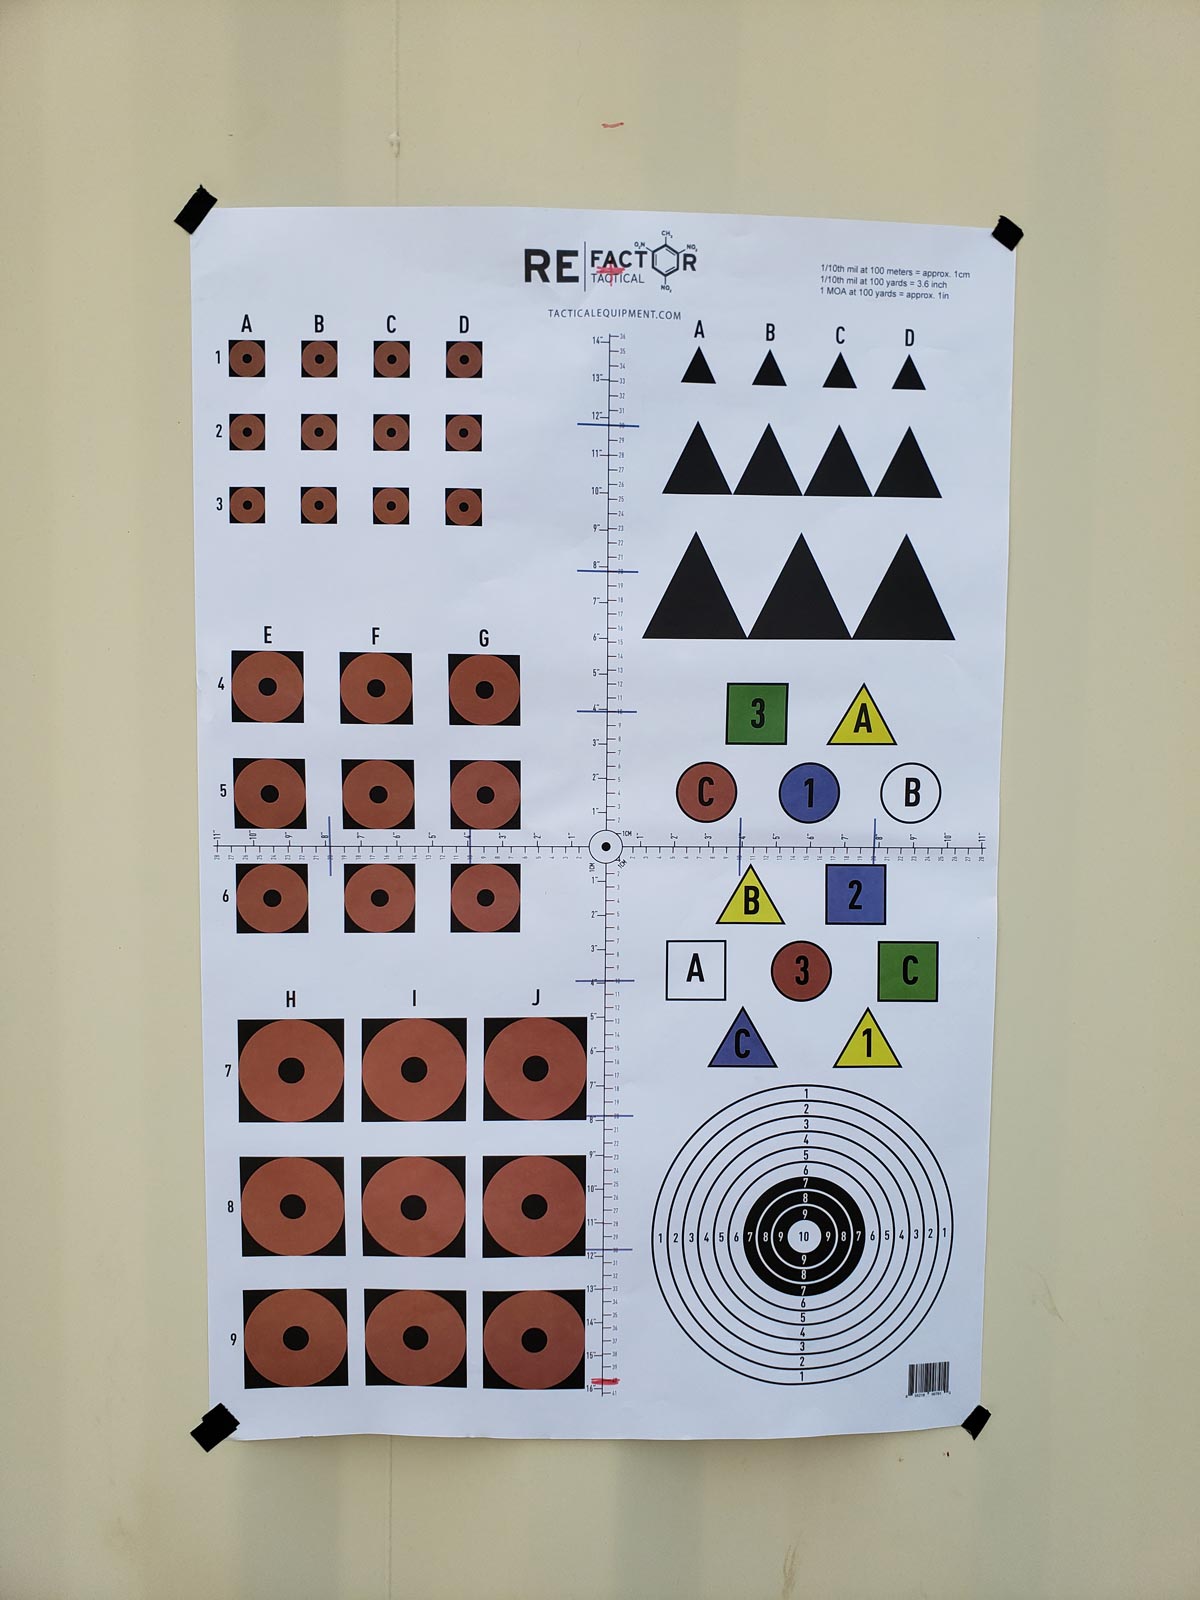
The Hitman Target from RE Factor Tactical is great for checking subtensions and tracking.
Most first focal plane scopes are calibrated correctly, but this test is critical on second focal plane scopes, especially if you tend to hold in the reticle. If you like to use your reticle for holding elevation or with a second focal plane scope, the manufacturer will usually indicate at what magnification setting the reticle is calibrated for. Double-checking this setting is not a bad idea.
To test this, place a target at 100 meters with dots every 10 centimeters (1 mil) or 10 MOA. Overlay your reticle and make sure that the reticle subtensions are calibrated correctly. If you have to dial magnification slightly up or down to get everything to line up, that is okay; make a permanent mark on the scope to indicate the correct setting.
Overall, when it comes to optics, if you do your due diligence of researching good quality glass and then performing these simple tests at the range, you shouldn't have problems. A wise shooter once said that all scopes are garbage until proven otherwise, and over the years, I have found that to be sage advice. You wouldn't hop in an untested vehicle for a road trip without kicking the tires and checking the fluids, right? Equally, don't take a scope for a spin without "kicking the tires" either. Make sure it is good to go regardless of how much you paid or who made it.
Tip: Carry all the necessary tools, and the instruction manual in case you need to service your scope in the field.
Until next time, thanks for stopping by Inside MDT!


 CAD
CAD
 Euro
Euro
