Posted by William Maxwell on 2022 Jun 23rd
How to Zero a Rifle
So you just got a new rifle, quality optic, and a couple of boxes of the finest match ammo. You want to push out to distance; before you can do that, there are a few steps that you need to take. Today we will be discussing the first step, zeroing the rifle. What is zeroing? Zeroing is when you align the point of aim (where the reticle of the sighting system is pointed) with the point of impact (where the projectile impacts the target).
THE PROCESS
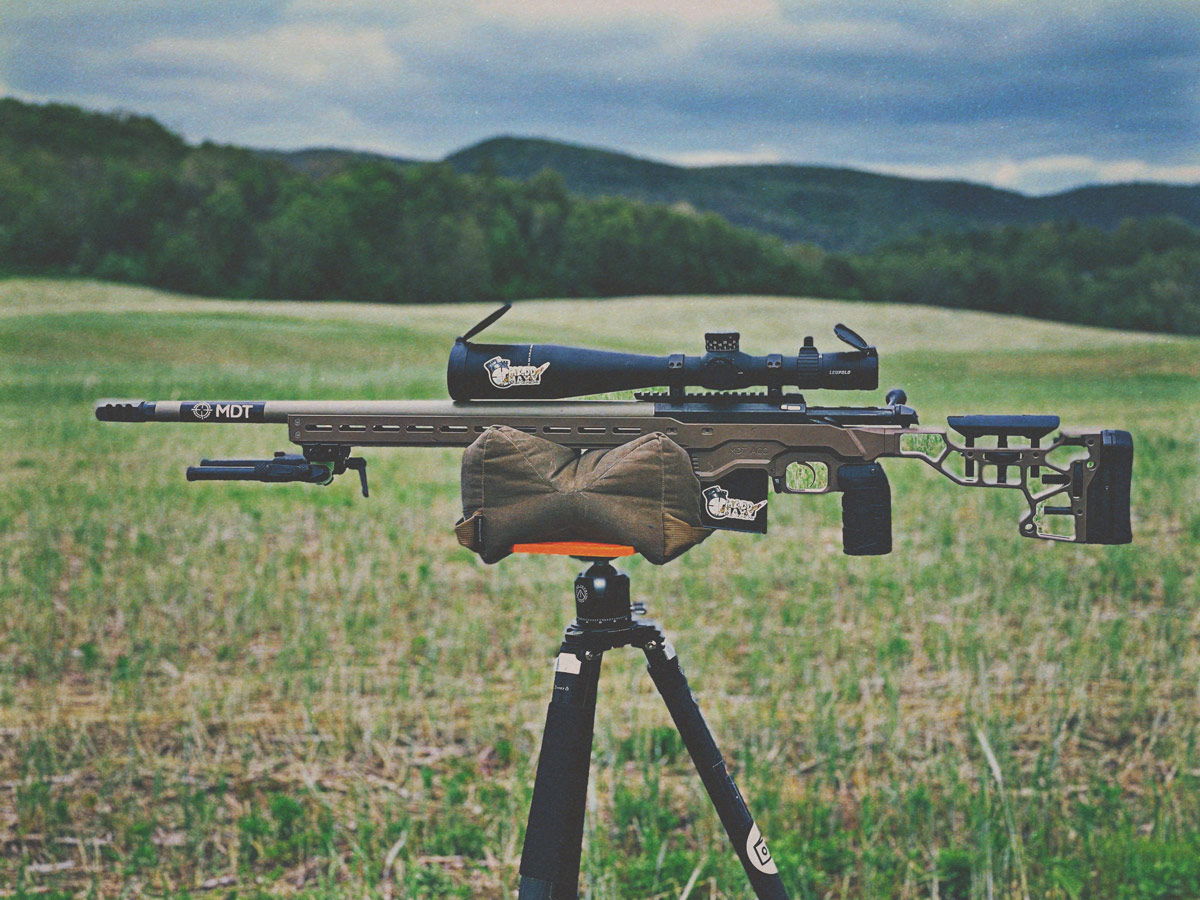
Depending on the firearm and sighting system (you optic), there are a few different techniques, tips, and tricks. We will specifically speak about bolt-action rifles with a standard long-range precision optic. I recently swapped barrels on one of my custom rifles, an Ultimatum Precision Deadline mated to an MDT ACC Chassis System. The rifle is chambered in 6mm Creedmoor and topped with a Leupold Mark 5 HD 5-25x56. Let's look at the steps I used to re-zero this rifle.
The first step is to choose a target. The options here are endless. Every situation is, well, situational. It depends on the range in which you are zeroing, the distance you are zeroing at, the sighting system, etc. You can print targets, buy them, or make them. Sometimes a zero target will come with the scope you buy. The most common target has a grid with one-inch squares.
Common zeroing target with 1 inch square.
Typically, I make my own using a sheet of 8.5" x11" piece of cardstock. I'll use a one-inch target sticker with a fine aiming point stuck in the middle. Having a fine point to aim at lends to precision. Aim small, miss small. If I'm feeling adventurous ill draw 10 cm crosshairs with 1 cm increments. Once you choose your target, it's time to get to the range.
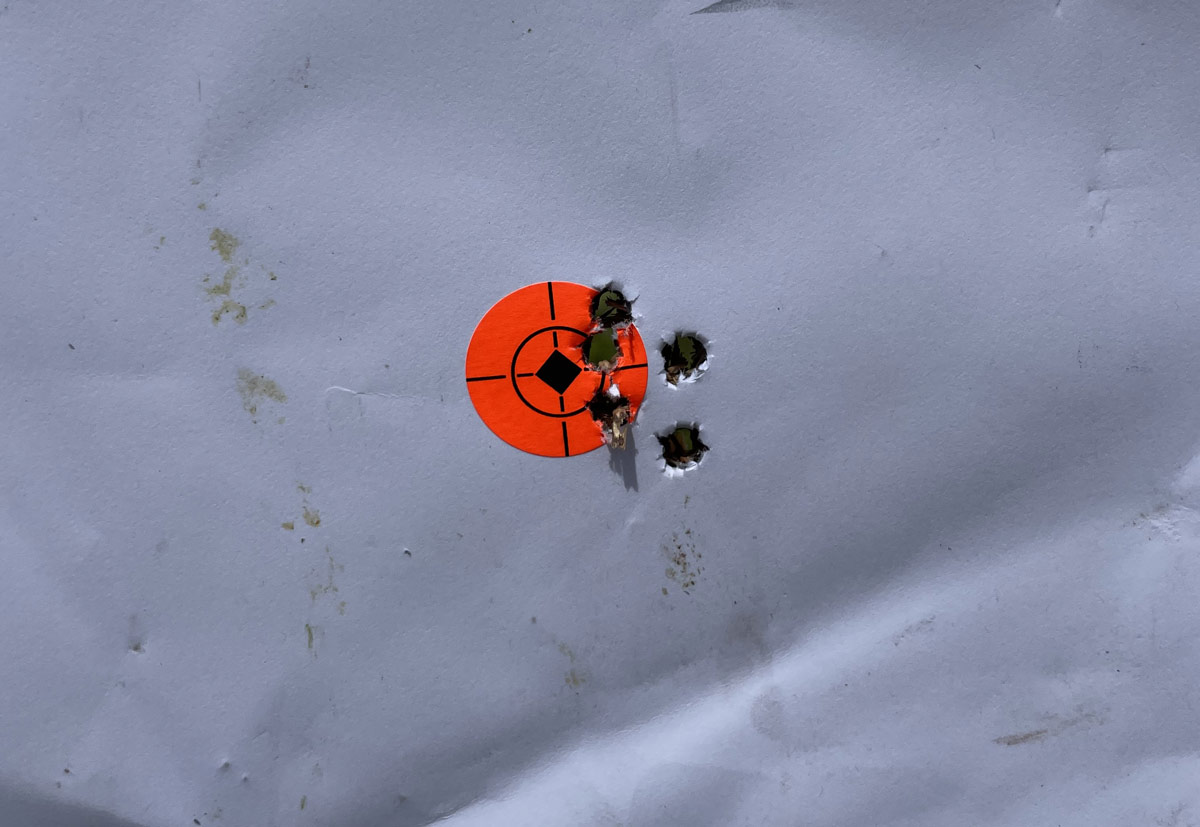
A simple white piece of paper with a 1-inch pasty will also work just fine.
Pro Tip: Attach the target to a backdrop that you can spot impacts off.
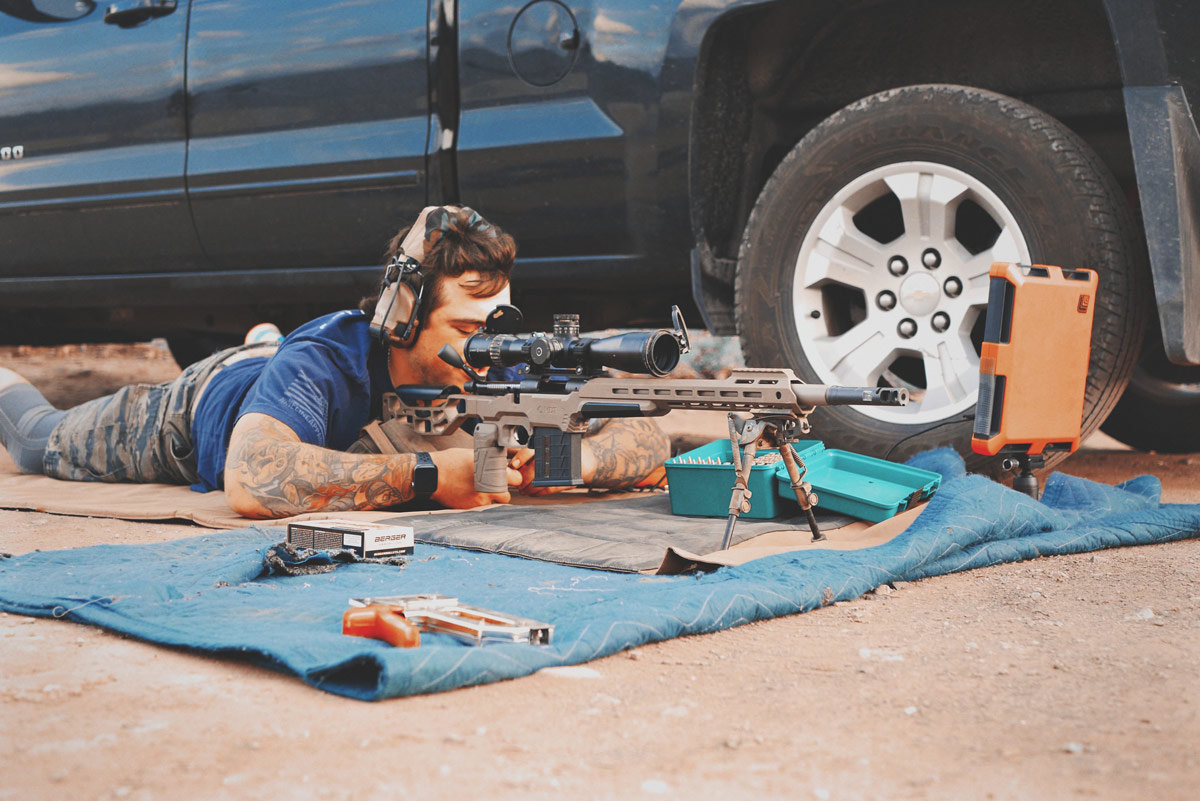
The next step is to find a solid position at the appropriate distance. Distance is easy; since we're talking precision rifles here, we zero at 100 yards, or in my case, meters. I choose to zero at 100 meters (or 109 yards) to make the adjustments an even 1 CM or 1/10 MIL for me. Position could be argued to be the most important aspect of shooting precisely. The two preferred options for this are from the ground or a stable shooting bench. Whatever you're shooting from, it NEEDS to be solid. I prefer shooting prone on the ground. It doesn't get much more stable than the earth. The only downside is that when you're on the ground, there's a higher potential for mirage. Keep in mind: that the slightest movement could substantially affect your impacts. I've shot out the back of plenty of trucks; anecdotally, it's not the right answer. You're also going to need something to rest the gun on. I use a bipod and rear bag.
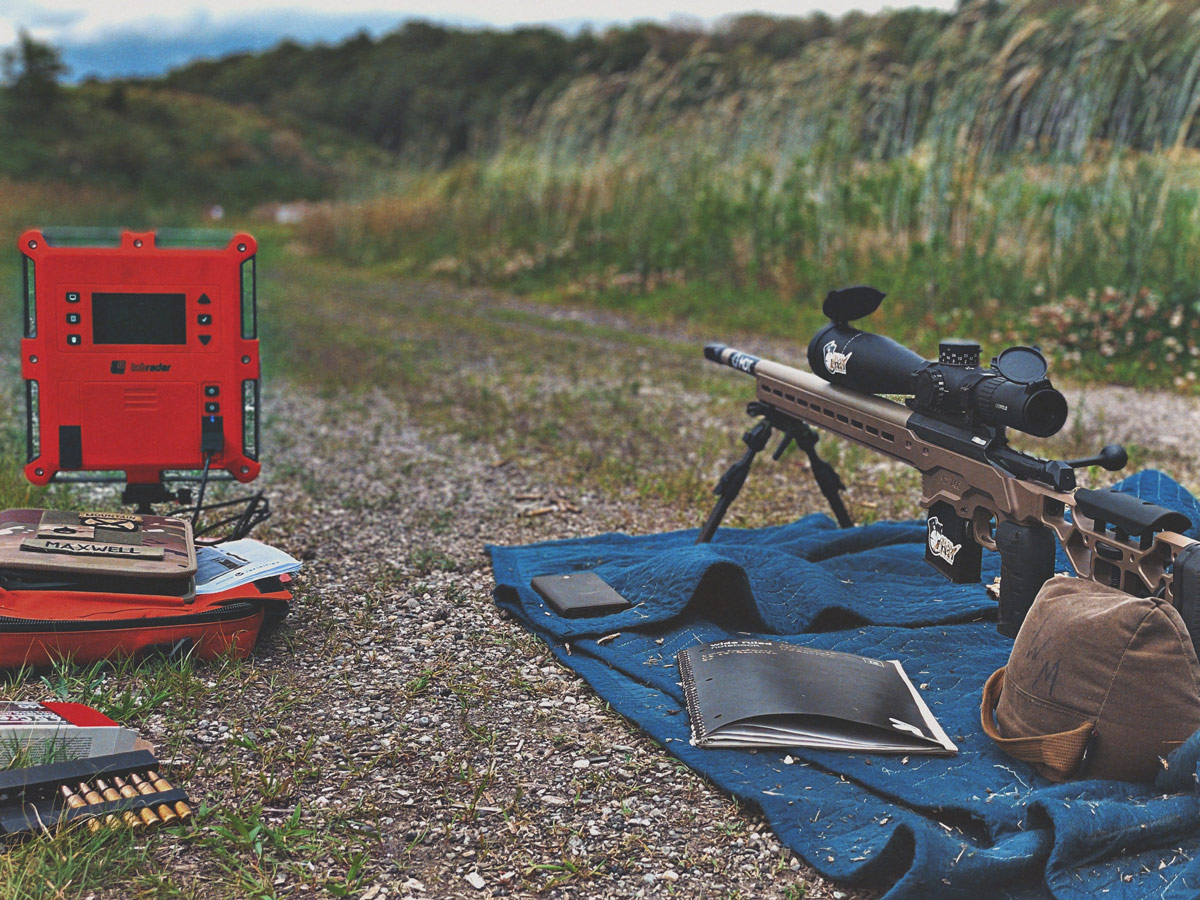
After I have set up my target, I will boresight my scope. The traditional method is pretty straightforward. You pull the bolt out of the action and take a peep down the barrel; the goal is to get the target to be in the center of the bore while in a stable position. Once the rifle is set in place, you will adjust the windage and elevation to line up the reticle of the optic with the point of aim of the barrel. This might not work perfectly, but if you do it correctly, I will get you on paper.
The other boresighting option is using a laser. A lot of companies make lasers the size of a rifle cartridge that you can slide into the chamber. It should project a dot on target for you to align your reticle. If it is too bright outside, the laser might not be visible; however, you can wait till the evening. If you have a 25-yard indoor lane, use a ballistic calculator to see what your hold would be at that distance.
Boresighting is optional, but it will save you some rounds and get on paper. Another quick method for getting on target is to fire into a berm at 100 yards or 100 meters, observe your impact in your reticle and make a quick adjustment.
More: Up to Speed on Velocity
Once boresighting is done, it is time to shoot. Get in a stable position, adjust your parallax knob until your target is crystal clear, take a few dry-fire shots to shake out the jitters, then take at least three shots. I like taking five shots because it gives me more data, but three can work. Once you're on paper, the next step is to make your first (and if you're good, last) adjustment.
More: How to Become a Pro Shooter Without Ammunition
To make the proper adjustment, you must know how your reticle and turrets work. Unless you're using an early-mid 2000's U.S. Military sniper scope, your reticle and turrets should match. Another essential detail is the size of the adjustments. Precision rifle scopes typically have MIL scopes with 0.1 or 1/10 milliradian clicks. That's roughly 1 cm at 100 meters. In the case of MOA scopes, the clicks are typically 0.25 or ¼ MOA. One MOA is 1.047 inches at 100 yards.
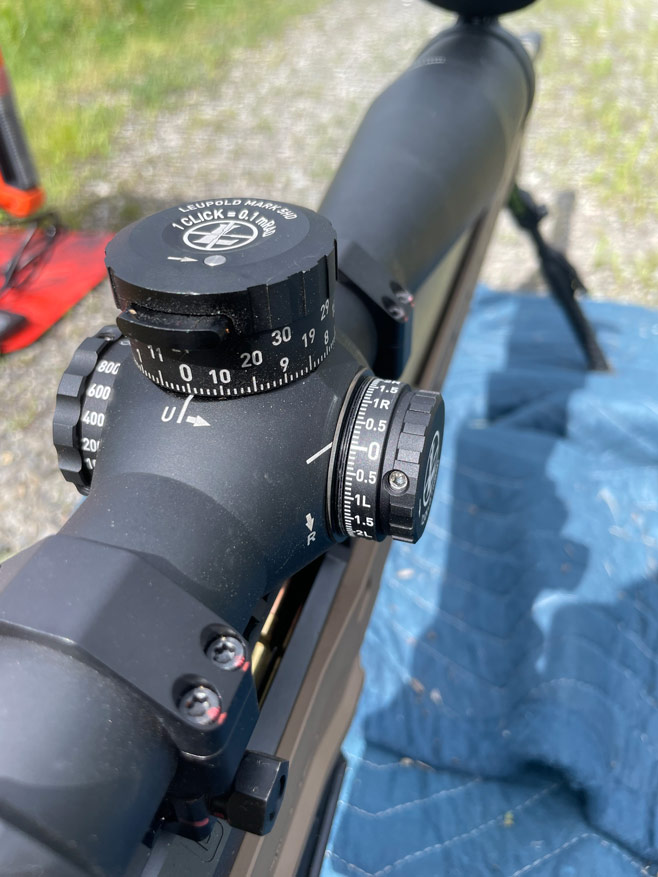
A solid understanding of your scope is necessary for long range shooting.
Making your adjustment can go one of three ways. I like to use the reticle to measure how far I need to adjust. For that to work correctly, you need a scope that tracks perfectly. The next method you can also do from the same position. If your rifle can remain rock steady, keep your eye down the scope with the same point of aim as when you pulled your initial shots. You then use the turrets to adjust the point of aim to the point of impact. If you cannot keep the rifle stable, this method will not work correctly. The last method involves getting up and checking the target. You would then take a measurement and adjust from there. This is where having a grid on the target comes in handy.
Once you make your adjustment, you will then shoot another group to confirm zero or to see if you need to make more adjustments. Repeat the above steps if more adjustments are necessary until you have the perfect zero.
Pro Tip: Zero on a non-windy day, and plug the atmospheric data into your ballistic calculator.
Here is an excellent video from MDT Pro Shooter Matt Hornback on getting zeroed and selecting factory ammunition.
Your rifle is now zeroed. Go out there, shoot some targets at some distance and make me proud.
Thanks for reading!
ABOUT THE AUTHOR
William Maxwell currently serves in the United States Army. After returning from his first deployment in 2015, he started building firearms and focused heavily on pistol and carbine training. In 2018 he fell into the rabbit hole of precision rifle shooting. He spends his free time competing, reloading, editing digital content and writing. He can be reached via Instagram @maddmaxxguns.

 CAD
CAD
 Euro
Euro
